- 7 Easy Steps to Clean and Refurbish Cast Iron Pans - December 27, 2021
- From Battlefields to Glamping: The History of Canvas Bell Tents - July 18, 2017
- Hotel Advertising: A History of Guest Welcome Amenities - July 12, 2017
Raised in the south, the first thing a girl like me is taught–other than southern hospitality–is how to cook with cast iron skillets.
Whether it was cornbread or fried green tomatoes, my mom taught me everything there is to know, and especially, the steps to clean and refurbish cast iron.
A Brief History of Cast Iron Skillets
Cast iron was invented in 5th century China, but used more commonly for architecture and weaponry.
It wasn’t until much later–the late 1800s to be exact–that cast-iron cookware entered mass production.
Cookware could be large cast-iron stoves or small muffin tins, but there was at least one per household by the 20th century.
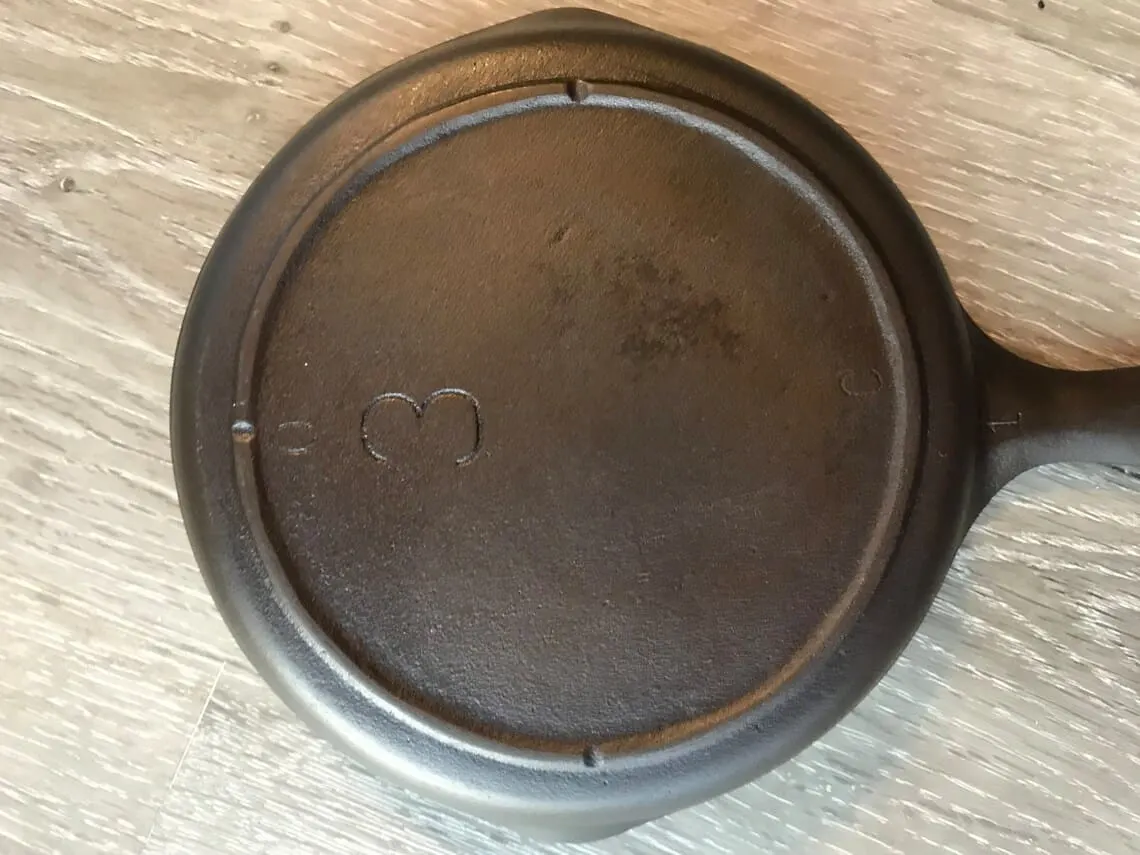
Cast Iron Molder’s Marks (and Manufacturers)
Often times, cast iron molding manufacturers will place a stamp or insignia on either the pan’s handle or underside. These molder’s marks can vary from pan size diameters to catalogue numbers and letters. Lodge has a distinct teardrop handle.
With Griswold and Wagner Ware being two of the first cookware manufacturers, and highly sought after, make sure to brush up on your skillet symbols. If the pan is older, you may need to give it a clean first to reveal a manufacturer’s signature mark.
Benefits of Cooking with Cast Iron Cookware

If you’ve ever tasted food flashed on cast-iron, you’ll soon find a way to adapt any recipe. And not only does it make flapjacks taste and look delightful, but it’s an easy way to add iron-enriched dishes to your diet. Cast iron cooking is even recommended by doctors to patients with iron deficiencies.
Cast iron also distributes heat evenly, eliminating hot spots and the chance of food burning. But it also helps having a natural non-stick surface with the pan’s seasoning layers acquired over time.
How to Clean Rust from Cast Iron Skillets

Cast iron enthusiasts flip pans like realtors flip houses. So don’t let rust and grime intimidate you from purchasing skillets from The Salvation Army or Goodwill thrift shops. Underneath the layers of rusty grimey gook, lies a quality pan that just needs a little love and a lot of elbow grease.
So if you ever come across a skillet–or any cast iron cookwares, for that matter–here are the seven DIY steps to flip a skillet (or keep it for yourself, I won’t tell).
Step 1: Scrub Away Rust Spots
Roll up your sleeves because it’s about to get messy! The hardest work begins upfront with hard scrubbing.
Avoid using abrasive stainless steel wool pads; I like to use a bristle brush. I also recommend getting yourself plastic pan scrapers to clear off the really hard crusties. Works wonders!
Instead, take a potato (yes, a potato spud) and cut in half. Pour Kosher salt liberally in the pan. (Really, anything except fine table salts.) Next, take the potato half and apply pressure, rotating circles in the salt.
Keep the salt nearby, you’ll need to do this again a second time.
Step 2: Wash the Cast-Iron Skillet by Hand
Never, ever place your skillet in the dishwasher! Hand washing is the only way to preserve cast iron skillets. If anything–and I only condone this if the pan is in already terrible shape–use a very tiny amount of mild soap. Don’t go crazy!
Step 3: Give Skillet a Second Kosher Salt Scrub
Once you have cleared away all the large particles, it’s time to give it a second salt scrub. Sprinkle inside the pan, but this time just a small bit. Next, repeat step one with the second half of the potato.
Step 4: Dry Skillet with Hand Cloth
Having thoroughly rinsed the cast iron of any remaining suds, it needs to dry. But unlike a lot of dishware and cookware, you can’t simply place it aside and let natural air do it’s thing.
Leaving water on skillets will cause it to rust over again. Instead, find a cloth–preferably an old hand cloth or towel you don’t mind getting dirty–and absorb every bit of moisture.
Step 5: Apply Thin Oil Layer to Skillet
Once you have gone through these steps, it’s now time to re-season your skillet! To begin, preheat your oven to 125 F, placing the skillet inside just enough to get warm (maybe 15 minutes). Next, remove the skillet and turn up the oven to 350 F.
Coat the entire skillet with the oil of your choice.
As for types of oil for cast iron skillets, cooking oils and Crisco shortening are the tried-and-true standard. But, of course, opinions vary. A few cooks suggest healthier options like peanut oil. The only exception I’ll advise against is olive oil, which can actually turn rancid.
Step 6: Bake Inside Oven to Re-Season Cast Iron
After you’ve got the pan good and oiled, return to the oven (now at 350 F). Bake for about one hour, allowing heat to expand the iron’s porous surface.
Some chefs recommend turning the skillet upside down for this step, so it’s wise to place foil inside your oven to catch drippings.
The only exception to the oven baking step is if it’s a wood-handled skillet. Obviously, you would burn the handle to a crisp.
After the hour has passed, turn your oven off and allow the skillet to slowly cool, closing the iron’s pits and pores. (Also, metals can be damaged by sudden contrasts in temperature).
After cooling, remove excess oil with one more passover wipe.
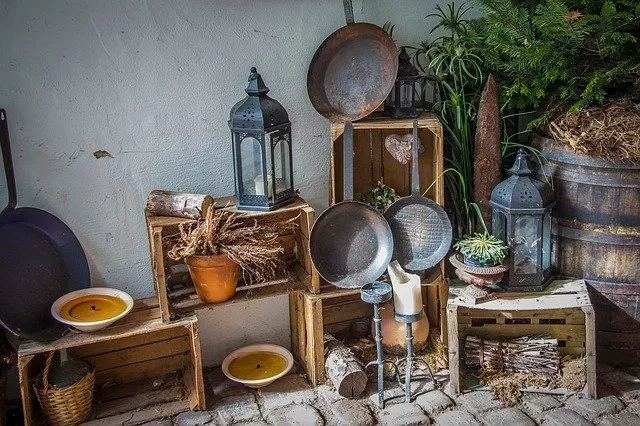
Step 7: Properly Store the Cast-Iron Skillet
Until you discover a few skillet recipes you want to try, it’s best to keep your skillet stored or hanging in a dry space like your oven or cabinet.
If you begin adding to your cast iron cookware collection and collect multiple skillets, be careful in stacking them one on top of the other. But if you’re looking to save cabinets space, stacking them is perfectly fine if you place a soft towel between.
When Cast Iron Skillets Can’t Be Saved
Know the Skillet’s History
I’ve seen some badly mishandled and mistreated iron cookware. We’re so overflowing with these pans in the south, we use them for everything: Placing pans under cars to catch oil, for instance. It’s almost as if the south takes these skillets for granted.
I’ve seen thrift shop pans and Salvation Army skillets for way below their value, simply due to a few rust spots.
When we don’t always know where it came from, sometimes, if you’re lucky, you can ask sellers the skillet’s history. Maybe it was their great grandmothers; maybe the skillet was salvaged from the roadside.
The Hidden Crack Test
Sometimes, it can be difficult to tell–disguised by the crusty build-up–if there are any stress cracks hidden in skillets.
The easiest way to test for cracks is to hold the pan upside down by it’s handle and give it a good hard knock with your knuckles.
If it has a nice gong-like ring, it’s still in fine shape! If it sounds dull, it has a crack under those layers. Maybe pass on that one.
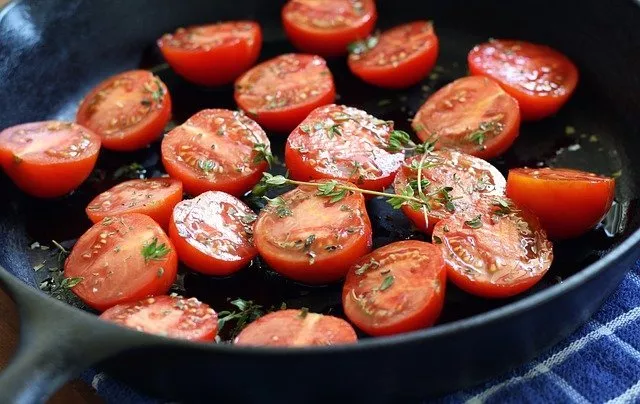
Debated by cast iron skillet-loving chefs, many caution not to cook acidic foods. Acidity is harmful to the iron and–like a lemon infused soap–can severely cut away the a skillet’s oily goodness.
Personally, I don’t have a hand-me-down skillet to worry about preserving granny’s holy layers.
And I don’t mind cooking acidic foods in cast iron, so long as I clean and re-bake in a layer of oil after every use.
If you wanna turn iron into gold, the best alchemy is to spruce it up and research skillet resale values.
In short, treat cast iron like it’s at the spa: Scrub it, open the pores and moisturize it, give it a hot stone massage. Well, not really. But you get the general idea.
Check out Etsy's restored cast iron selection for the very best in unique or custom, handmade pieces from their cast iron skillets shops.